
Last updated November 21, 2026
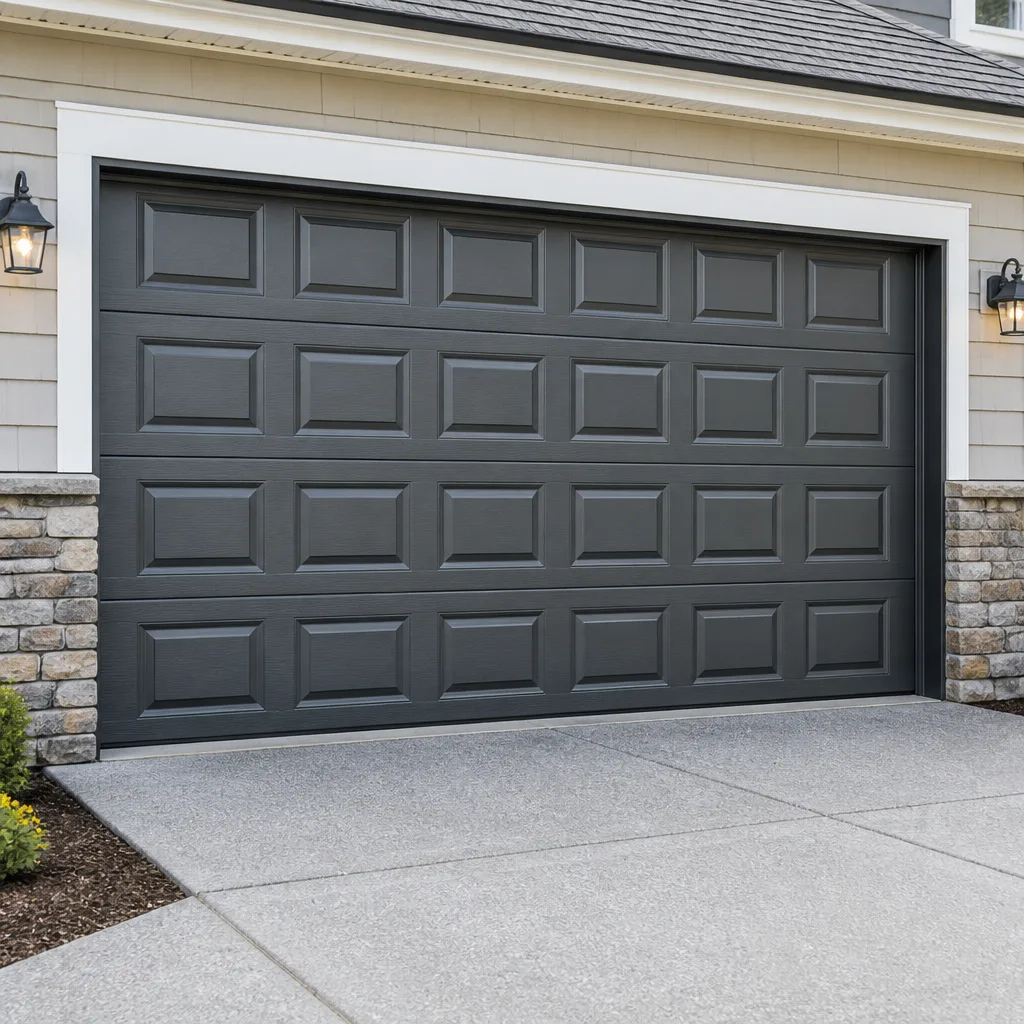 Raised-panel steel
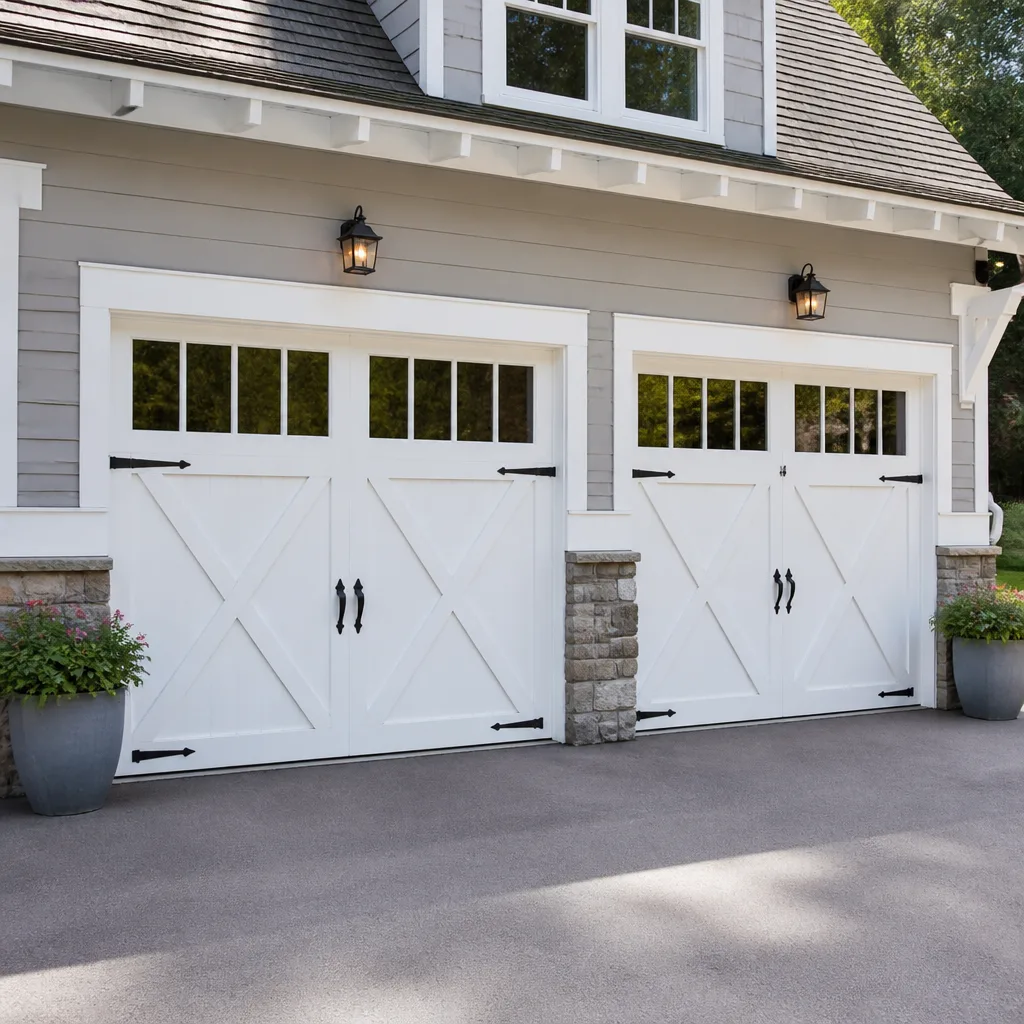 Carriage house
 Modern flush
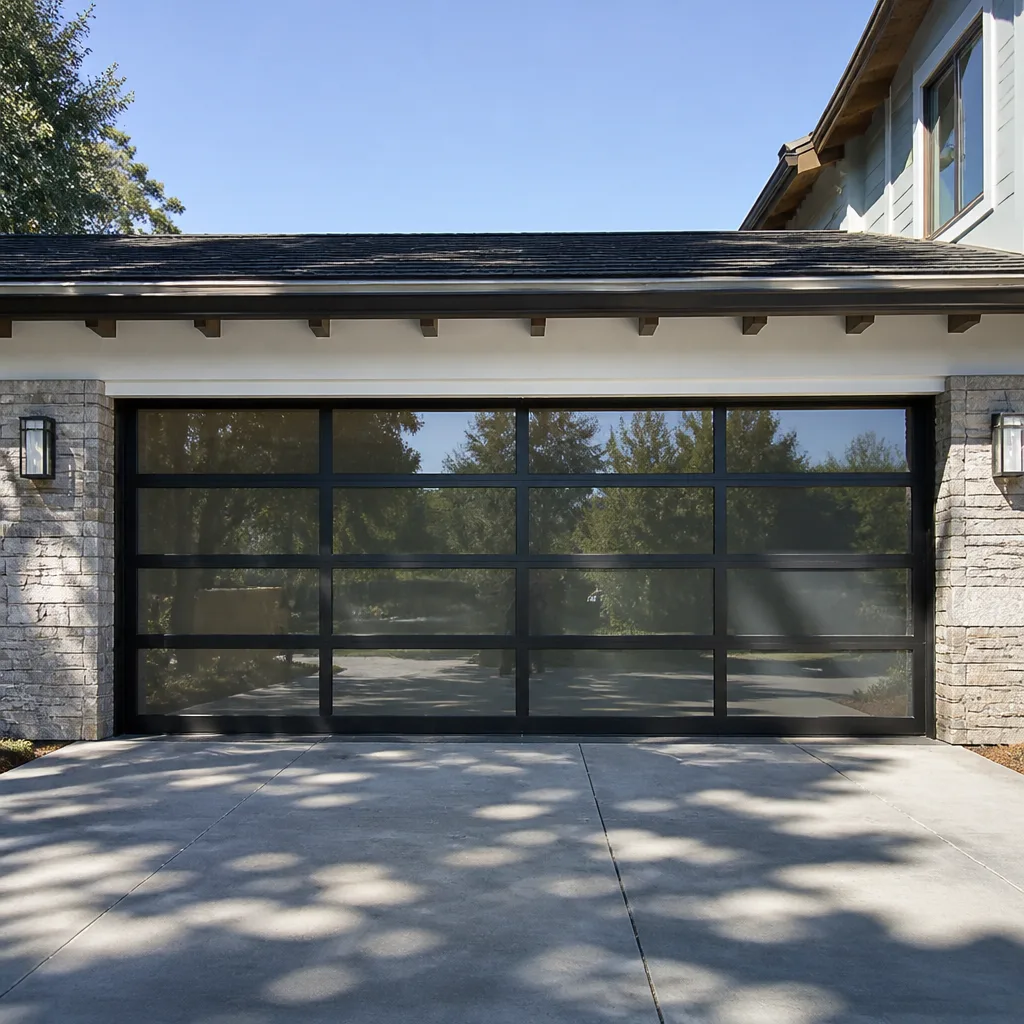 Full-view glass
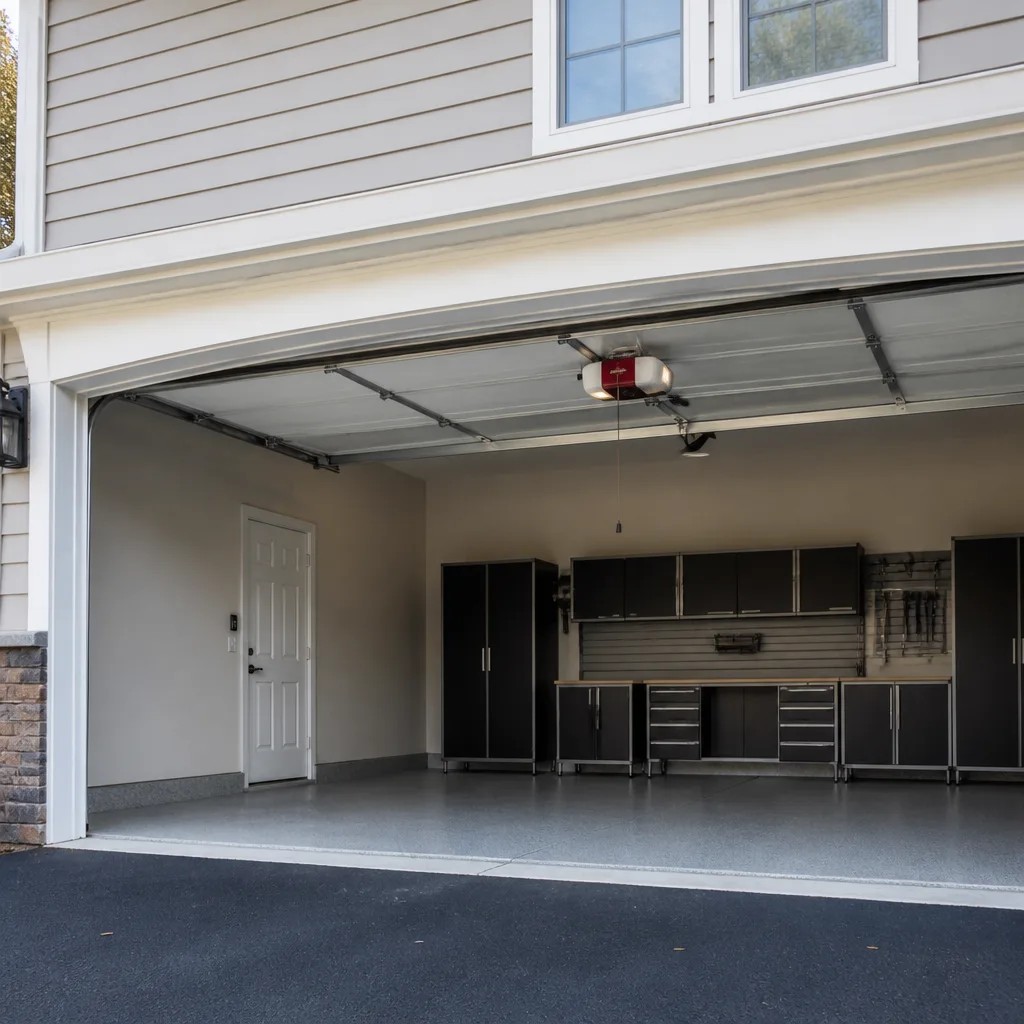 LiftMaster openers
 Chamberlain openers
Full 25-point door and opener safety check with every visit - springs, cables, rollers, tracks, and your LiftMaster or Chamberlain opener included
You get a price before we start. It does not change when the pro arrives.
Get your free estimateDIY vs Professional Garage Door: The Kirkland Homeowner’s Decision Guide
Most homeowners treat the DIY question as a matter of philosophy: are you the kind of person who fixes things, or the kind who pays someone else? Garage doors break that framing. A torsion spring under tension can send a metal winding rod through drywall before you’ve registered what happened, while a misaligned safety sensor is a five-minute fix with one wrench. The same door asks wildly different things of you depending on which part failed. This guide maps every common garage door job in Kirkland onto a simple decision matrix: skill required, injury risk, and what the job actually costs here in 2026. By the end, you’ll know exactly which tasks are yours and which ones belong to a specialist. We’re Kirkland Garage Door Repair Pros, and garage doors are all we do.
Quick Answer
About 80% of garage door problems fall into one of two buckets: a short list of genuinely safe DIY tasks (weatherstripping, sensor alignment, lubrication, dent assessment) and a longer list of jobs that require a trained professional due to real injury risk (torsion springs, cables, counterbalance adjustment, opener overhaul, panel replacement). If the job involves the spring, the cable, the track, or the opener’s internal drive, call a professional. If it involves a rubber seal, a loose bolt, or a sensor eye, you can do it yourself.
Styles & brands we work with
- Raised-panel steel
- Carriage house
- Modern flush
- Full-view glass
- LiftMaster openers
- Chamberlain openers
Table of Contents
- The garage door DIY risk matrix
- The definitive no-DIY list (and why)
- Legitimate DIY tasks that carry no real risk
- The true cost of DIY vs professional in Kirkland
- The hidden DIY cost no calculator captures
- When a professional diagnosis is worth it on its own
- How Kirkland’s climate changes the equation
- Common mistakes to avoid
- When to call a professional
- Frequently asked questions
The Garage Door DIY Risk Matrix
Not every garage door task is the same. Some are glorified cleaning. Others can kill you if you do them wrong. Here’s how the common jobs sort out on two axes: how much skill the job takes, and how badly it can go if you get it wrong.
The four risk tiers
Tier 1 – Safe DIY. Weatherstripping replacement, sensor alignment, lubrication, visual panel inspection, tightening bolts on the door frame. No special tools, no real injury potential.
Tier 2 – DIY with care. Replacing rollers on a door in the down position, cleaning photo-eye lenses, resetting a breaker at the opener. Doable for a careful homeowner with basic hand tools; mistakes cost time and a small part.
Tier 3 – Professional recommended. Track adjustment, panel replacement, opener drive gear or circuit board repair, safety-reverse testing adjustments. A DIY error here can strain the door or void a warranty, but the injury risk is moderate.
Tier 4 – Professional only. Torsion spring replacement, extension spring replacement, cable replacement, bottom bracket work, and any adjustment to the counterbalance system. These are the jobs where a mistake doesn’t cost a part; it costs a hand, a wrist, or worse. We’ll explain the mechanics in the next section.
Why the matrix matters
The mistake homeowners make isn’t trying to fix things. It’s guessing wrong about which tier a job falls into. A spring that looks like a metal coil is really a stored-energy device, and the number of things it can do wrong has nothing to do with how simple the part looks. Sorting the task correctly before you start is the entire game. If you’re ever unsure which tier a job sits in, that’s a good sign it belongs at the higher end. Our garage door repair team walks customers through this sorting on nearly every call.
The Definitive No-DIY List (And Why)
Some garage door repairs are dangerous not because they’re hard, but because the forces involved don’t care how careful you are. Here are the jobs that belong on every homeowner’s “call someone” list, with the specific mechanism explained.
1. Torsion spring replacement or adjustment
A torsion spring is wound to hold hundreds of pounds of torque when the door is down. When the door opens, that torque unwinds to lift the door. Each spring carries an enormous amount of stored energy. If the winding rod slips or the spring releases while you’re turning it, the rod can snap through drywall at speed. The injury potential is real, and it’s the reason spring work is a distinct specialty with distinct tools even among professional technicians. If your door has snapped a spring and the door is stuck partially open or fully closed, that’s a garage door spring repair call, not a weekend project.
2. Extension spring replacement
The cousin of the torsion spring, the extension spring runs along the horizontal tracks above the door. It does the same job but along a linear track, and it snaps in the same way. When extension springs fail, they can whip through the track and toward the opener or the door panel. Even on a door where the spring looks accessible, the mechanics are unforgiving. Professionals use containment cables, correct hook heights, and weighted tools designed for these springs.
3. Cable replacement
The cables are what connect the door’s weight to the spring tension. They run under heavy tension constantly. A frayed cable on a door at rest can snap without warning. If you see a cable with a broken strand, a chewed section, or a snapped cable sagging from the drum, do not run the door. Cable replacement means working with the spring disengaged and re-tensioned, and getting it wrong can turn the door into a 200-pound downward projectile.
4. Bottom bracket work
The bottom bracket anchors the lower end of the cable. It’s under continuous tension. Loosening the wrong bolt while the door is in the wrong position can unload a spring or cable without warning. Homeowners who’ve done this once rarely try it twice.
5. Opener spring or counterbalance finger-trap adjustments
If the door feels heavy when you lift it manually, or the opener is straining, the problem is balance, not the opener. The right fix is a counterbalance adjustment on the spring system, which means a Tier 4 job. Re-routing the opener or winding up the opener’s tension won’t fix it, and it may push a failing spring to failure faster.
Legitimate DIY Tasks That Carry No Real Risk
The good news is that plenty of garage door maintenance is yours to do. None of it requires special tools, none of it touches the spring or the cable, and all of it can be finished with one hand tool and a few minutes.
Weatherstripping replacement
The rubber seal on the bottom of the door (the bottom seal or astragal) and the perimeter seals on the sides and top are all DIY-friendly. No special tools beyond a pair of snips, a hammer, and a few fasteners. New weatherstripping cuts drafts, blocks drafts-borne water from reaching the floor, and takes about an hour for the bottom seal and a couple hours for the perimeter.
Sensor alignment
The photo-eye sensors on either side of the door, about six inches off the ground, need to see each other to close. If one eye has a glowing indicator and the other doesn’t, or the door reverses before closing, the sensors are misaligned or one lens is dirty. Wipe the lenses clean and gently nudge the sensor bracket until both indicators light solid. If nudging doesn’t fix it, the sensors may be failing and would need replacement, which is also a small DIY job on most opener brands.
Lubrication
A dry white lithium or silicone-based lubricant on the hinges, rollers, and track surfaces (never oil on the track) quiets a noisy door and reduces wear. Wipe the track first with a rag, then apply a thin coat. Ten minutes, no tools beyond the can and a rag.
Panel dent assessment
If the door has a dented panel, you can’t always repair it, but you can inspect the panel with the door down. Check whether the panel is only cosmetic or whether the dent has warped the panel and affected the door’s travel. A cosmetic dent on a steel panel is a judgment call; a dent that’s bowed the panel is a sign the door needs help.
Tightening bolts and hinges
Every garage door has a row of hinges and bolts that loosen over time. A socket wrench on the hinges and a screwdriver on the opener bracket take about fifteen minutes. Don’t touch any bolt on the bottom bracket, the cable drum, or the spring system; none of those are DIY-safe.
Bulb replacement and remote battery
The opener’s light bulbs and the remote’s coin batteries are trivially DIY. Both are worth doing before calling anyone, since a dead remote battery masquerades as a failing opener.
The True Cost of DIY vs Professional in Kirkland
The cost question is where most DIY calculators get it wrong. They compare the price of a part against the price of a job and call it a decision. That’s only half the math. Here’s the real breakdown for three common jobs in the Kirkland market, comparing parts alone against a full professional estimate.
Job 1: Weatherstripping replacement
Parts alone: a bottom seal runs roughly $25 – $45 in the Kirkland market; a full perimeter kit runs roughly $60 – $120. Professional estimate: typically $120 – $260 depending on seal type and how much of the perimeter is covered.
Verdict: DIY wins here clearly. There’s no special tool and no real risk. If you have an hour and a pair of snips, replace the seal yourself.
Job 2: Garage door opener repair (gear or board)
Parts alone: a drive gear and sprocket kit runs roughly $30 – $80 for the common brands (LiftMaster, Chamberlain, Genie, Craftsman all share similar internals). A logic board runs $80 – $200. Professional estimate: typically $180 – $420 depending on the failure. Verdict: DIY is defensible if you know the specific model and can confirm the exact failure before ordering. Most homeowners guess wrong about which part failed, order it, install it, and discover the real failure was somewhere else. This is a job where a professional diagnosis usually saves money over a guess-and-order approach. If your opener is silent or the door won’t respond to any remote, start with our garage door opener repair diagnostics before ordering parts.
Job 3: Torsion spring replacement
Parts alone: a single torsion spring typically runs $40 – $90 in the Kirkland market. Verdict: This is where the comparison stops being relevant. A torsion spring is sold by wire gauge, inside diameter, and length, and getting any of those dimensions wrong means either a spring that won’t hold the door or one that fails early. Even if you sourced the exact spring, the winding procedure is the part that makes it non-DIY. A professional spring replacement in Kirkland typically runs $180 – $340 for one spring; a matched pair (which is usually replaced together, since the springs wear as a set) runs roughly double. That’s the honest comparison, and it’s why spring work belongs to a specialist.
What a “cost comparison” should include
Any DIY vs professional table that doesn’t account for time, rework, and warranty effects is leaving out half the story. The parts listings above are the honest comparison. The hidden costs are next.
The Hidden DIY Cost No Calculator Captures
There’s a cost to DIY that never shows up on a parts receipt: the warranty layer. Many opener manufacturers will not honor a drive or motor warranty if the failure is traced to non-professional installation or repair. The same is true of spring warranties on some door brands. This isn’t a scare tactic, it’s a real and common consequence of doing Tier 3 and Tier 4 work yourself.
What actually gets voided
The specifics vary by brand and by model year, so read the warranty language on your specific opener before you start. Generally:
- Opener motor and drive warranty: Often conditioned on installation by a qualified installer. If a motor fails and the unit was installed by the homeowner, the manufacturer may decline the claim. LiftMaster, Chamberlain, and Genie all have model-specific terms and it’s worth checking the manual.
- Spring warranty: Some spring manufacturers will not honor their spring warranty if a replacement spring was installed by a non-professional, since they can’t verify the winding was done correctly. A failed spring from an incorrect winding is a common cause of early spring failure.
- Door panel warranty: Cosmetic and structural warranties on door panels often exclude damage caused by improper handling during a DIY panel replacement.
- Homeowner’s insurance: A DIY repair that later causes damage or injury can complicate a claim. No policy number belongs in this decision, but the general question of “who is responsible if this goes wrong” is worth asking before you start.
How to know if your warranty is at risk
Two questions to ask before you start a DIY job. First, is this a Tier 1 or Tier 2 task? If it is, the warranty risk is minimal. Second, is the part under warranty right now? If it is, and if the warranty language names professional installation as a condition, do not do the work yourself. You’re trading a $40 part against a $280 warranty claim.
When a Professional Diagnosis Is Worth It On Its Own
One of the most useful tools in this decision guide is the standalone diagnosis. You don’t have to commit to the repair to get a professional read on what’s actually wrong. Sometimes paying a small diagnostic is better than guessing.
Cases where diagnosis alone pays for itself
The door is doing something you can’t categorize. If the door reverses before fully closing for no obvious reason, or opens a few inches and stops, or runs but trips the opener’s reversing mechanism, the failure has multiple possible sources. A professional can usually isolate the cause in a single visit.
You’ve already replaced a part and the problem persists. If you’ve swapped a sensor, a battery, or a remote and the door still misbehaves, the failure is probably somewhere else. Ordering a second part isn’t the next step; identifying the actual cause is.
The opener is more than a few years old and the door is heavy. A failing spring on a door with an aging opener can present as an opener failure. Only a professional diagnosis will tell you whether the troubleshooting belongs on the spring or the opener.
You’re renovating or replacing the door. A professional measure and a written price are the two things a DIY-angled project needs most. The installation price sets the total cost, and the measurement prevents a door that doesn’t fit.
How to prepare for a diagnosis
- Note the exact symptom: what the door does, what it sounds like, and when the problem appeared.
- Have the opener model visible (check the label under the light cover).
- Test the door’s balance manually with the door closed and the opener disengaged (pull the red emergency release). Note how heavy it feels.
- Photograph the spring, cables, and drum on both sides before the technician arrives.
- Keep a written record of what you’ve already tried, including parts already replaced.
How Kirkland’s Climate Changes the Equation
Garage door wear in Kirkland runs on a Puget Sound weather cycle: long wet winters with repeated freeze-thaw through the colder months, and warm dry summers that cycle the door through hundreds of up-and-down operations while the seals dry and harden. This cycle leaves a different wear fingerprint than a dry-climate garage door.
What that means for DIY decisions
Seals dry and crack faster. The bottom seal and side seals harden in the summer and then water can pool at the door line when the fall rains return. Weatherstripping gets an annual check in Kirkland; replacing a cracked bottom seal is a safe DIY task and the one job on this guide’s safe list that pays for itself seasonally.
Cables develop surface rust. Visible rust on a cable strand is a sign of a failing cable, not a sign of a small maintenance issue. Inspect the cables each spring. If you see a broken strand or frayed wire, do not operate the door, and do not attempt cable replacement yourself.
Wood and composite panels swell. Homeowners with wood or composite doors sometimes see the door stiffen in winter. That can be a swollen panel, but it can also be a spring that has lost tension, so a stiff door is not always a DIY problem. If the door feels heavy when lifted manually, it’s a balance issue and belongs in Tier 4.
Tracks shift. A door that runs clean in July can scrape in January if the track has shifted or the slab has settled. Track work is a Tier 3 job.
The climate in Kirkland is hard on seals and cables but kind to springs compared to freezing-inland climates. That means seal inspection and replacement is a homeowner task, and cable inspection is a specialist task.
Common Mistakes to Avoid
- Assuming a “heavy” door needs a new opener. A door that feels heavy when you lift it manually needs a counterbalance evaluation, not a new opener. Buying an opener to fix a spring problem wastes the money and can accelerate spring failure.
- Winding a torsion spring without knowing the wire gauge. The wire gauge, inside diameter, and length of a torsion spring all have to match the door’s weight. A spring that’s the wrong gauge will either not hold the door or will fail early. Call on the spring, use the safe DIY list for everything else.
- Replacing a bottom seal over a rusted retainer. A bottom seal replacement is fast unless the retainer that holds it is rusted. If the retainer is rusted, that’s a professional job, not a DIY one.
- Skipping the balance check before calling. Before calling for an opener problem, unhook the door with the red emergency release and lift it manually. If it lifts with two fingers, the balance is fine and the problem is the opener. If it’s heavy, the problem is the spring.
- Assuming non-professional installation doesn’t affect the warranty. Some opener and spring warranties are conditioned on professional installation. Read the manual’s warranty page before starting the job.
- Adjusting the safety reverse with a screwdriver on the opener. The safety reverse adjustment is a legitimate maintenance task on most openers, but it’s the last thing to adjust when a door won’t close. Get the balance right first, then adjust the reverse.
- Forgetting that Kirkland weather is a maintenance driver. The one DIY job that should be on an annual schedule is a bottom seal inspection, given the wet winters and dry summers.
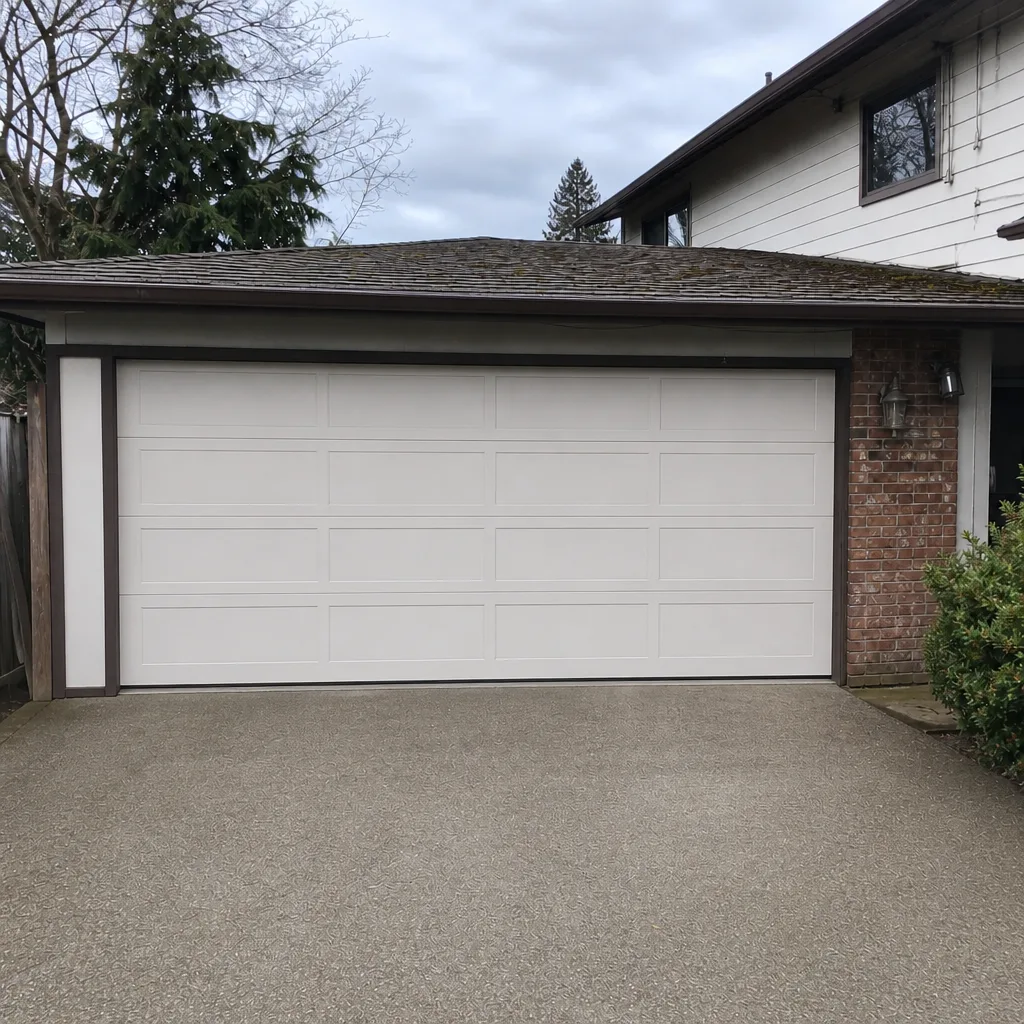
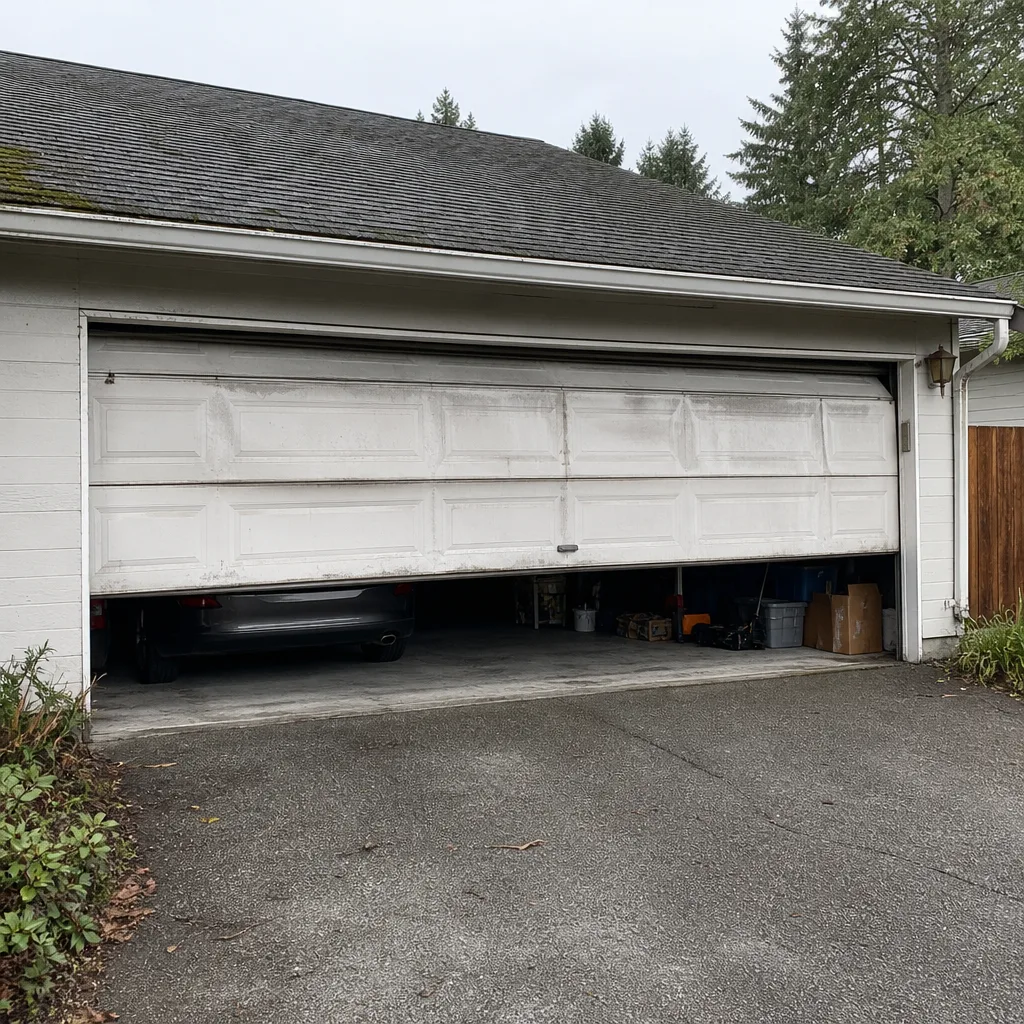
See the difference
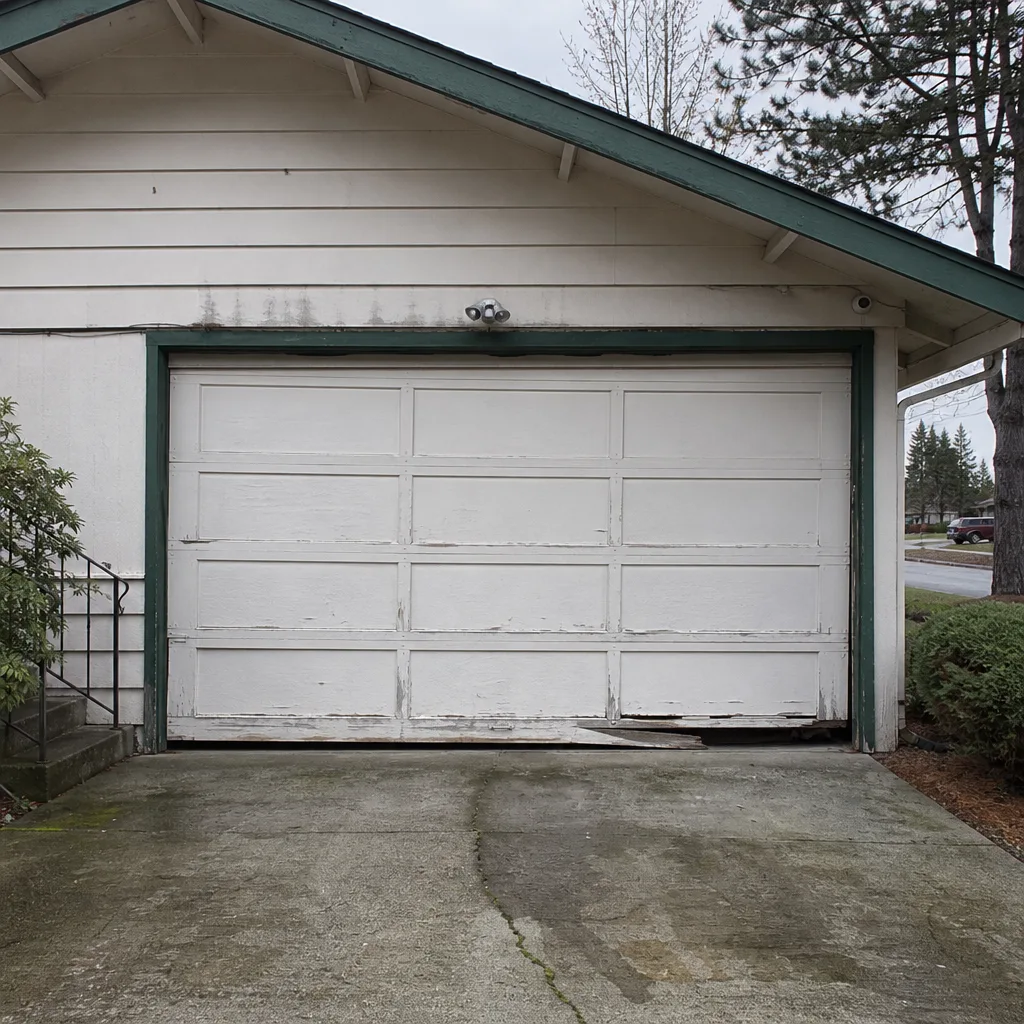 Before
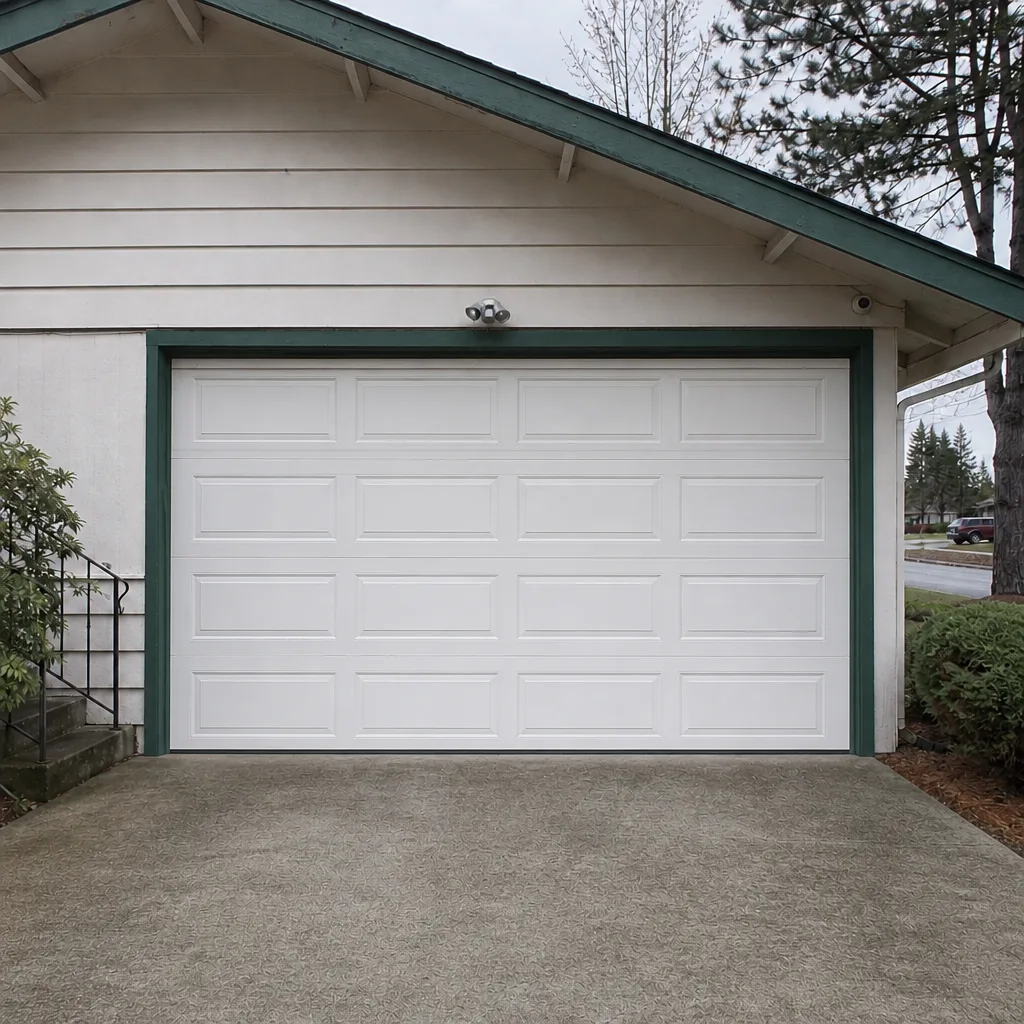 After
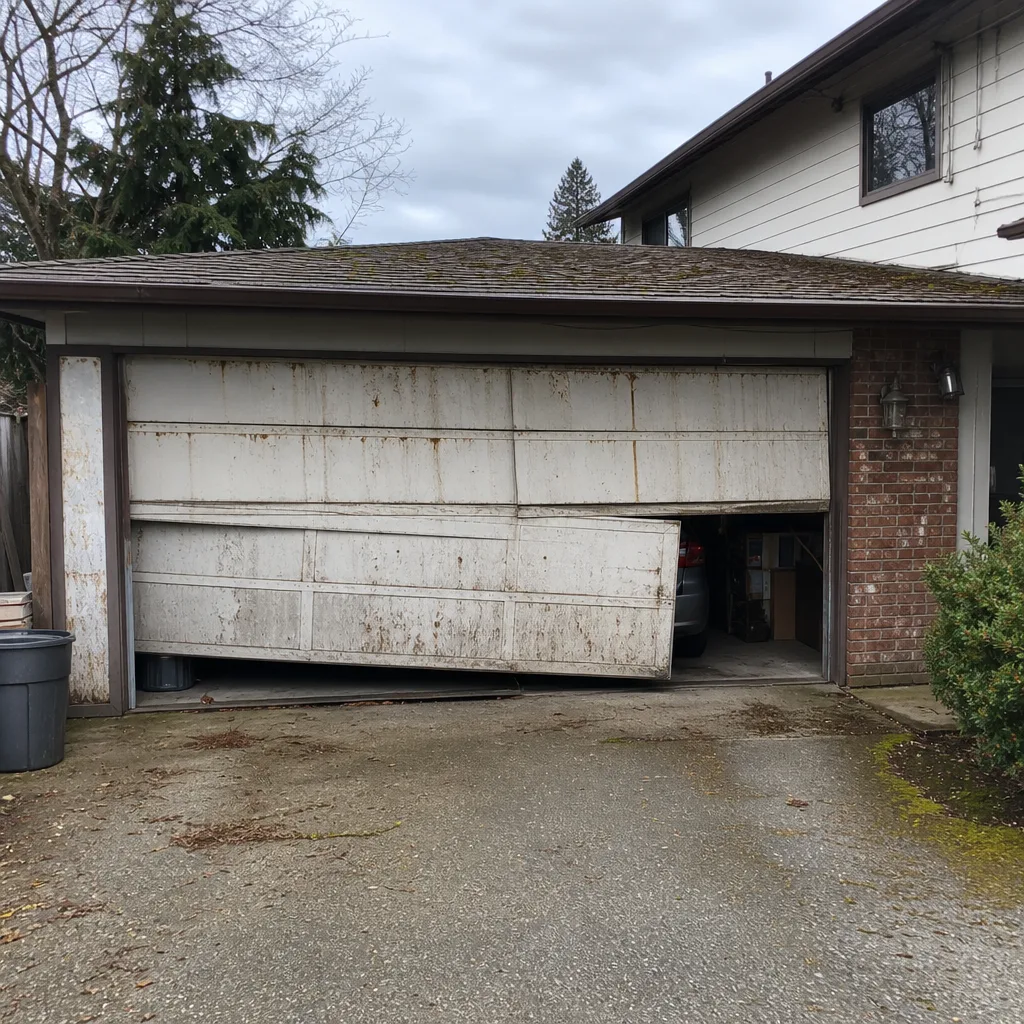 Before
 After
 Before
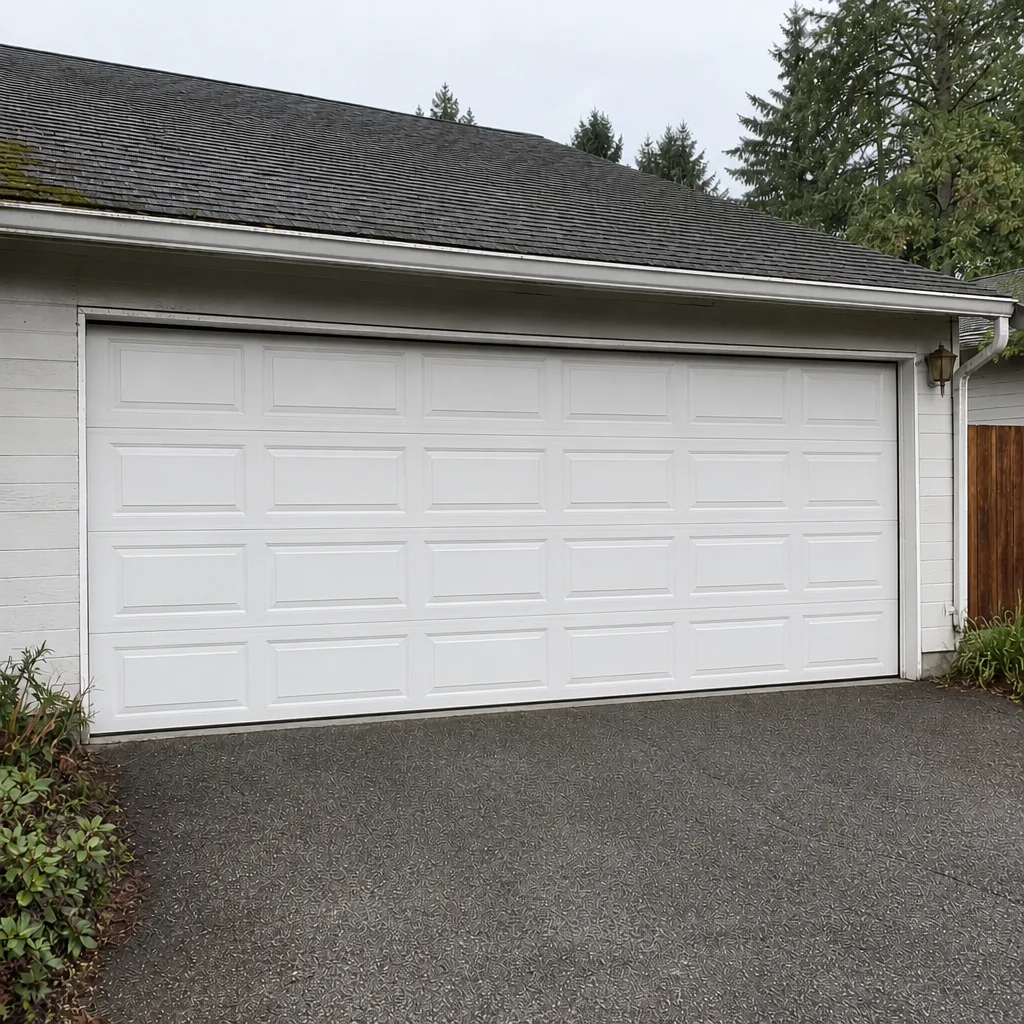 After
When to Call a Professional
You should call a professional the moment a task falls into Tier 3 or Tier 4 on the risk matrix. That means any torsion or extension spring work, any cable replacement, any bottom bracket work, any adjustment to a counterbalance, or any opener repair where you’ve already replaced a part and the door still misbehaves. It also means any door that has snapped a spring and left you without a functioning garage, or any door that has come off its track and is now sitting at an angle. If you’re ever unsure which tier a job belongs in, that uncertainty is the call.
Kirkland Garage Door Repair Pros offers free estimates in Kirkland. Call (855) 981-4153. We answer 24/7. Fast dispatch from 7am to 7pm, Sunday through Friday. Our technicians have up to 14 years of experience, and they work on the major brands: LiftMaster, Chamberlain, Genie, Clopay, Amarr, Wayne Dalton, Craftsman, and Raynor.
Frequently Asked Questions
No. A torsion or extension spring replacement is a Tier 4 job that carries serious injury risk because the spring is under continuous stored energy when wound. Even professional technicians use dedicated winding tools and specific procedures to keep themselves safe. If your spring has failed and the door is stuck, call a professional spring service rather than attempting the repair. Call (855) 981-4153 for a free estimate.
Worth doing yourself if the retainer isn’t rusted. A bottom seal replacement in Kirkland typically runs $25-$45 in parts and about an hour of your time, against roughly $120-$260 for a professional estimate. It’s the one DIY task on the safe list that pays for itself every season. If the retainer is rusted or the side seals are also in poor shape, a professional has the right parts and finishes faster.
A garage door opener repair in Kirkland typically runs $180-$420 depending on the failure, with the written estimate setting the final price. Drive gear and sprocket kits run roughly $30-$80 in parts; logic boards run $80-$200. Most homeowners guess wrong about which part failed, so a professional diagnosis often saves money over a guess-and-order approach. Call (855) 981-4153 for an exact quote; estimates are free.
Yes, and it usually saves money. Before calling, unhook the door with the red emergency release and lift it manually. If it lifts with two fingers, the balance is fine and the problem is the opener. If it’s heavy, the spring or counterbalance needs attention. Write down the exact symptom, the opener model, and what you’ve already tried. The more you can tell a technician before the visit, the faster the diagnosis.
Sometimes, sometimes not, and it depends on the specific brand and model. Many opener manufacturers condition the motor and drive warranty on installation by a qualified installer. Some spring manufacturers won’t honor the spring warranty if the replacement was done by a non-professional. Read the warranty page of your manual before starting any Tier 3 or Tier 4 job. If the part is still under warranty, the $40 DIY part isn’t worth risking a $280 warranty claim.
Kirkland’s wet winters and dry summers mostly hit the seals and cables, not the springs. That means weatherstripping is the annual DIY job for a Kirkland homeowner, and cable inspection is a professional task. If you see a broken or rusted strand on a cable, do not run the door; call for a professional cable check. Call (855) 981-4153. We answer 24/7. Fast dispatch from 7am to 7pm, Sunday through Friday.
The Bottom Line
The DIY vs professional garage door decision isn’t about whether you’re handy. It’s about sorting the job correctly before you start. Weatherstripping, sensor alignment, lubrication, panel dent assessment, bolt tightening, and bulb or remote battery swaps are all safe, cheap, and worth doing yourself. Springs, cables, bottom brackets, and counterbalance work are Tier 4 tasks where a mistake carries real injury risk and can void a warranty. Opener repair and panel replacement sit in the middle, where a professional diagnosis usually saves money over a guess-and-order approach. Kirkland’s climate makes the safe DIY list worth doing every fall, and makes cable inspection something to leave to a specialist. When in doubt, ask.
Written by the team at Kirkland Garage Door Repair Pros.